REVIEW · QUEENSTOWN
Private Full Day Photo Tour of Queenstown | Skippers | Glenorchy | Wanaka |Otago
Book on Viator →Operated by Aiste Photo Tours & Shoots · Bookable on Viator
Queenstown looks good in any weather, but learning to shoot it changes everything. This private full-day photo tour is built for photography lovers, with local coaching from Aiste Photo Tours & Shoots, plus a lesson on manual camera settings right where the action is. I also love that you get 5–10 complimentary professional photographs at the end, so you’re not walking away with only your own blurry first attempts. One possible consideration: you’ll get the most from this if you’re willing to practice settings on the go and spend a bit of time outside between drives.
The tour runs about 8 hours with a small group (or solo), using an air-conditioned 4WD with WiFi on board and a flexible route across the Southern Lakes. The big win is a relaxed day where you can choose which long-drive stops matter most to you. If you’re hoping for a strict, fixed itinerary with zero downtime, this one gives you freedom instead, and that freedom might feel like too much for some.
In This Review
- Key highlights
- Why a Private Photo Tour Beats Trying to “Wing It” in Queenstown
- Meeting Aiste: Coaching That Fits Your Camera Level
- How the 4WD, WiFi, and Flexible Timing Make the Day Easier
- Stop-by-Stop: From Queenstown to Skippers Canyon and Arrowtown
- Queenstown: Start With Your Best Compositions
- Skippers Canyon: Action, Curves, and Big Views
- Arrowtown Village: Old-World Charm With Photographic Texture
- Glenorchy, Kinloch, and Wanaka: Choosing One or Two Longer Drives
- Glenorchy: Moody Water and Mountains
- Kinloch: Calm, Lake-Focused Feel
- Wanaka: The “One More Shot” Stop
- What You Actually Get: Picnic Lunch, Snacks, and 5–10 Pros Photos
- Price and Value: What $322.70 Really Covers
- Who This Tour Suits Best (and Who Might Prefer Something Else)
- My Booking Advice: How to Get the Most Out of Your Day
- Should You Book This Queenstown Photo Tour?
- FAQ
- What is the duration of the private Queenstown photo tour?
- How much does the tour cost per person?
- Who leads the tour and do you get photography instruction?
- What photos are included at the end of the day?
- Is lunch and any drinks provided?
- Will I be able to choose the locations during the day?
- What kind of vehicle is used for the tour?
- Is this a private tour?
- What happens if the weather is poor?
Key highlights
- Local coaching from Aiste with tutoring tailored to your level, from absolute beginner to advanced
- Manual camera settings in real scenes so the lesson sticks (not just theory)
- Skippers Canyon, Glenorchy, Wanaka, Arrowtown plus options like Kinloch, depending on your time and priorities
- Picnic lunch, snacks, and refreshments included to keep the day moving without menu stress
- 5–10 complimentary professional photos to supplement your own shots and boost your results fast
Why a Private Photo Tour Beats Trying to “Wing It” in Queenstown
Queenstown is one of those places where the views hit you from every angle. The trouble is, your camera may not know what to do with all that light, distance, and movement—especially on a full-day drive with waterfalls, shorelines, and mountain roads.
This tour solves that problem with two things you can actually feel during the day. First, your guide is a local photographer who gives on-the-spot advice while you’re composing shots. Second, the coaching is paced so you can learn without feeling like you’re stuck in a classroom. You’re photographing, traveling, photographing again. It’s simple, and it works.
It’s also private. That matters because you’re not competing for your guide’s attention or waiting for a group to catch up. If you want to linger for better light at a viewpoint—or if you want to move on quickly because you know the next stop will be stronger—you can do that.
You can also read our reviews of more private tours in Queenstown
Meeting Aiste: Coaching That Fits Your Camera Level
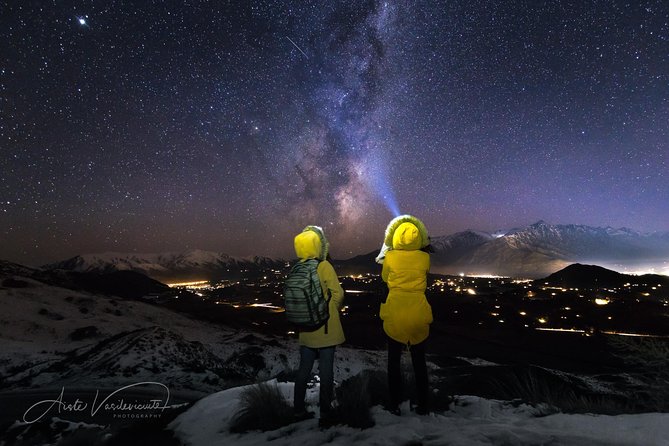
The standout promise here is tutoring that’s tailored to everyone’s level. That’s not just a nice phrase. In practice, it means you can ask basic questions without feeling behind, and you can still get meaningful feedback if you already shoot manually.
The tour focuses on manual camera settings, which is where most people get stuck. Auto mode is comfortable, but it often struggles with dramatic scenery—bright sky against darker mountains, shimmering water, or shadows under cloudy light. A manual-settings lesson helps you control exposure and sharpness instead of hoping the camera guesses correctly.
From the feedback tied to this experience, Aiste comes across as warm and genuinely invested in results. In other photography trips she’s led in the region, she’s known for taking people to off-the-beaten-track areas rather than only the obvious pullouts. That same style—finding the right spots and making them work for your photos—shows up in how people describe the Queenstown day as magical and memorable.
If you’re the kind of person who wants to understand your camera, this is the right match. If you mainly want a sightseeing day with photos as a side quest, you might find the teaching a bit more than you expect.
How the 4WD, WiFi, and Flexible Timing Make the Day Easier
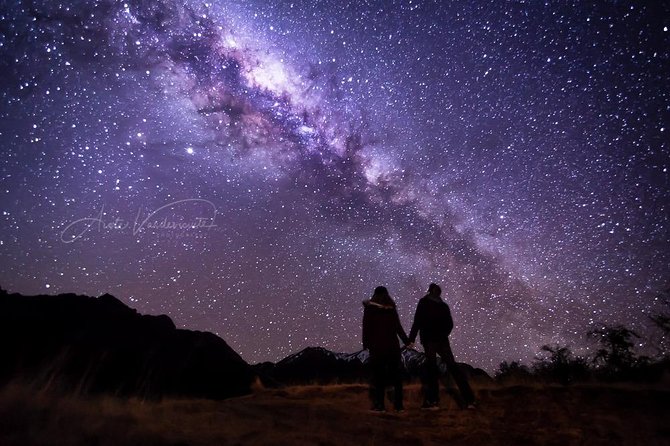
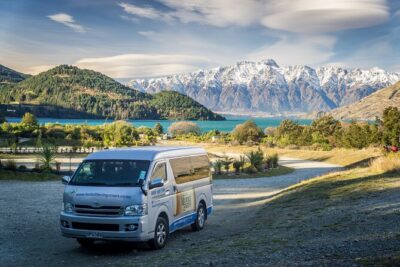
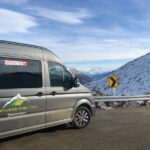
You’ll travel in an air-conditioned 4WD with WiFi on board, which is more useful than it sounds. Weather and light change fast in the Southern Lakes, and WiFi gives you a chance to quickly review a couple shots on your phone to check exposure or composition before you move to the next scene.
The route is flexible and starting time can be adjusted. That flexibility matters because Queenstown photography is heavily about timing. Morning light on the lake and mountains can look very different from late afternoon, and the tour lets your guide steer the day toward the best chances of getting what you want.
Pickup is offered, and the tour is personalized for solo visitors or small groups of 2–4 people. The small group size is a practical advantage: you’re moving fast enough to see multiple locations in a day, but slow enough for your guide to stop when something looks photo-worthy.
Stop-by-Stop: From Queenstown to Skippers Canyon and Arrowtown
This day can feel like a greatest-hits reel of the Queenstown area, but it’s built around photographing—not rushing through checklists. Here’s how the stops typically shape your images and what to watch for.
Queenstown: Start With Your Best Compositions
The tour starts in Queenstown, which is smart because it lets you get grounded early. You can set your baseline settings, practice manual exposure, and decide what style you want—lakeside reflections, dramatic mountain backdrops, or street-level details around town.
If you’re new to manual mode, this first stop is where you build confidence. Your guide can correct your settings before you head into harder light later in the day.
You can also read our reviews of more photography tours in Queenstown
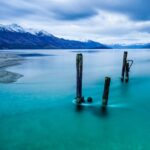
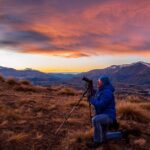
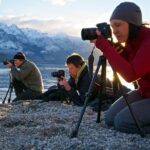
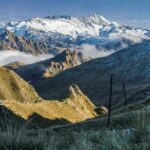
Skippers Canyon: Action, Curves, and Big Views
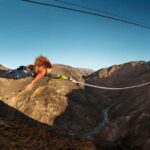
Skippers Canyon is a favorite for a reason: the road itself gives you photo opportunities, and the scenery changes quickly. If you like driving shots, wide angles, and the feeling of height above rivers or valleys, you’ll have fun here.
One practical note: photographing from a vehicle can be tricky. You’ll likely want short bursts—grab the shot when the view opens, then adjust when you stop. The tour’s tutoring between traveling helps because your guide can call out what to do fast, instead of you guessing while the best view passes.
Also, Skippers Canyon feels like a different world from town. It’s where your camera starts to face tougher contrast: bright sky, darker canyon shadows, and water moving in the distance.
Arrowtown Village: Old-World Charm With Photographic Texture
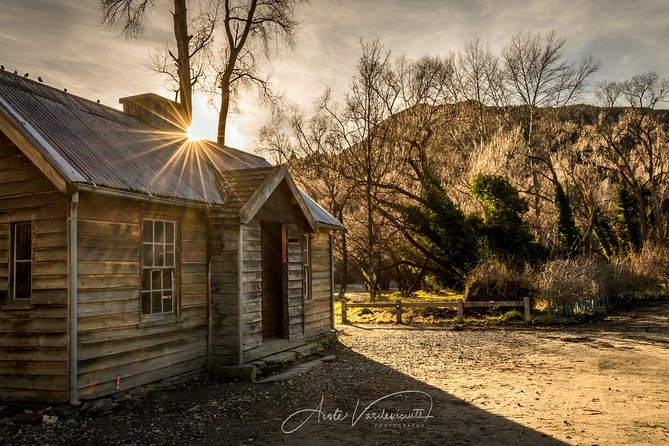
Arrowtown brings a different vibe. The village setting gives you texture and atmosphere—perfect for compositions that mix architecture, signage, and the surrounding Southern Lakes feel.
This is also a good stop if you want variety. After big canyon scenes and open vistas, Arrowtown helps you slow down and shoot details. It’s the kind of place where a slightly tighter framing can look great because you’re not forced into only wide landscapes.
A drawback possibility: if your priority is only dramatic mountain vistas, you may take Arrowtown quickly. But that’s really about your taste. For many people, variety is what makes a photo day feel rewarding.
Glenorchy, Kinloch, and Wanaka: Choosing One or Two Longer Drives
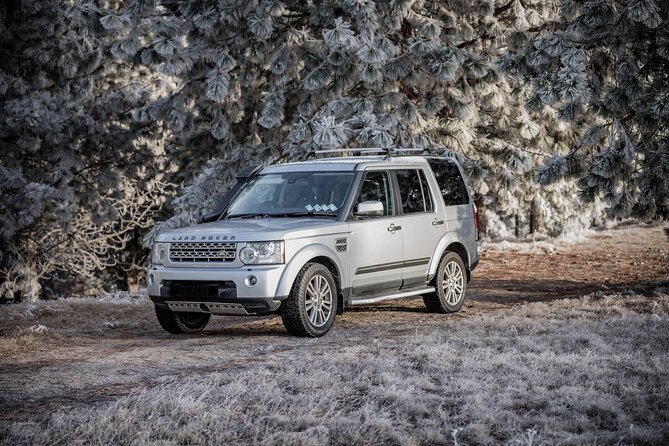
The Southern Lakes area has many photo-worthy pockets, but not all can fit comfortably into an 8-hour day. The tour includes stops such as Glenorchy and Wanaka, and it can also include Kinloch.
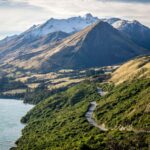
There’s a practical driving reality here: places like Wanaka & Cardrona, Glenorchy & Paradise, and Skippers Canyon are about an hour from Queenstown. The tour guidance suggests you can select one or two longer-distance locations, so you get more time in the places that matter most.
Glenorchy: Moody Water and Mountains
Glenorchy is the kind of place that rewards patience. Light can soften details, and the scenery often feels dramatic without needing harsh settings. This is where manual camera control pays off again—shadows and highlights appear together, and you’ll want to prevent blown skies while keeping darker areas visible.
Even if you’re not a technical photographer, you’ll likely notice the difference when you adjust exposure intentionally rather than leaving it on auto.
Kinloch: Calm, Lake-Focused Feel
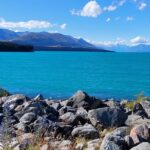
Kinloch is included as an option on this route. It’s typically the kind of stop that shifts you toward lakeside scenes and a quieter pace. If you’ve been taking wide-angle shots all morning, Kinloch can give your photo set a calmer, reflective tone.
In terms of effort, it can also be a good place to slow down and practice composition—placing the horizon, balancing darker foregrounds, and waiting for water movement.
Wanaka: The “One More Shot” Stop
Wanaka is popular because it gives you both wide scenery and foreground opportunities. You can shoot reflections, shoreline lines, and mountain layers depending on the weather.
If you’re deciding between longer-distance stops, I’d use this rule of thumb: pick the place that matches your strongest photo interest. Want drama and back-road scenery? Lean toward Glenorchy. Want lake views and a mix of angles? Lean toward Wanaka. Your guide can help you fine-tune based on the conditions that day.
What You Actually Get: Picnic Lunch, Snacks, and 5–10 Pros Photos
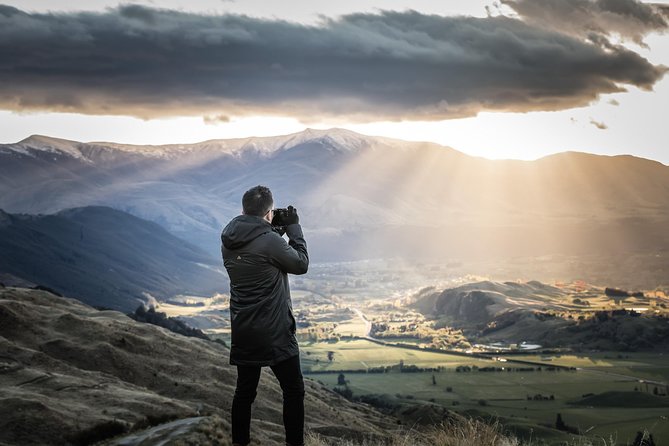
This tour doesn’t treat food like an afterthought. You get a picnic lunch and snacks, plus coffee, tea, and bottled water. That keeps the day feeling continuous, and it means you’re not forced into finding a café while you’re in the middle of a photographic window.
That matters for your results. When you’re hungry, you move faster than you should. When you’re hydrated, you can keep shooting without getting sloppy.
Then there’s the included photo deliverable: 5–10 complimentary professional photographs. This is a big deal for value, because it reduces the pressure on your own camera skills. Even if you’re learning manual settings in real time, you still leave with polished images that match what the scene is doing best.
It also gives you a useful benchmark. You can compare the guide’s look (the pro touch) with your own images and learn what decisions created the difference—exposure, framing, timing, and maybe even when to shoot.
Price and Value: What $322.70 Really Covers
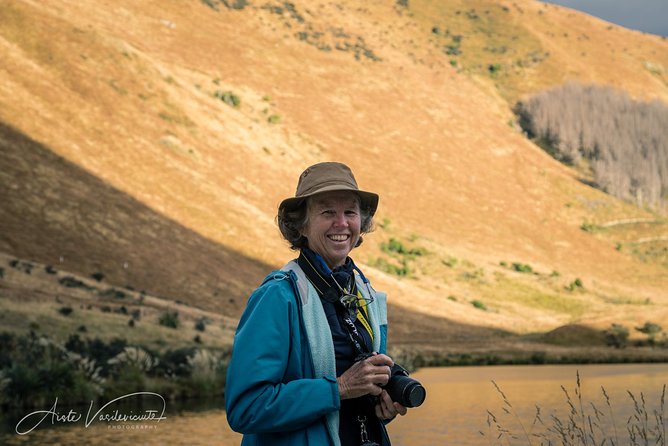
The price is $322.70 per person for an approximately 8-hour private tour. On paper, that can sound steep if you’re comparing it to a generic bus tour. But it’s not the same product.
You’re paying for:
- A local photographer guide who tutors you during the day
- A private setup for solo visitors or a small group (2–4)
- A custom route across multiple high-impact stops
- Included refreshments and lunch
- The transport in an air-conditioned 4WD with WiFi
- The added safety net of 5–10 professional photos
The best way to judge value is to ask what you’d otherwise spend. If you hire a photographer, buy a workshop, and still pay for transport, you’ll feel the difference fast. This tour bundles coaching + shooting time + delivery.
If you’re an advanced photographer already confident with manual settings, the pro photo output and the route planning still add value. But your enjoyment may depend on whether you’ll actively use the tutoring or mostly focus on shooting.
If you’re brand new, the coaching can make the price feel more justified because you’re buying skill, not only scenery.
Who This Tour Suits Best (and Who Might Prefer Something Else)
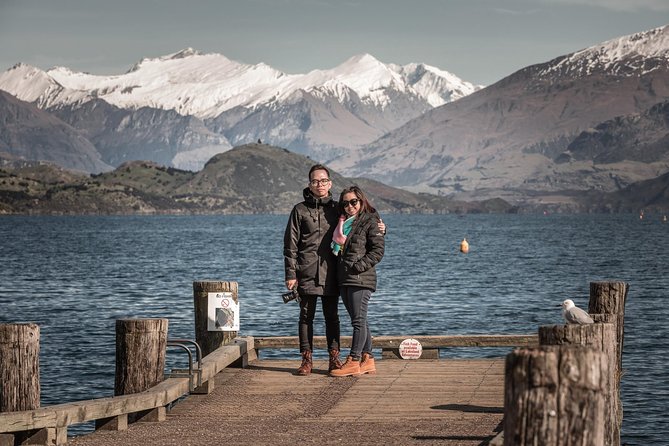
This works well for:
- Absolute beginners who want to learn manual settings without panic
- Intermediate shooters who want help dialing in exposure and composition
- Solo travelers who don’t want the awkwardness of joining a large group
- People who like the idea of an instructor who takes safety seriously—your guide holds a first aid certificate
It might not be ideal if:
- You want a totally self-guided day with no teaching moments
- You prefer a fixed itinerary with zero decision-making
- You’re not interested in manual camera control at all (the tutoring is a core feature)
Based on the descriptions of the experience, the tone seems relaxed and fun, not stiff. You should still expect instruction in between photographing and while you shoot, but it’s designed to fit around your pace.
My Booking Advice: How to Get the Most Out of Your Day
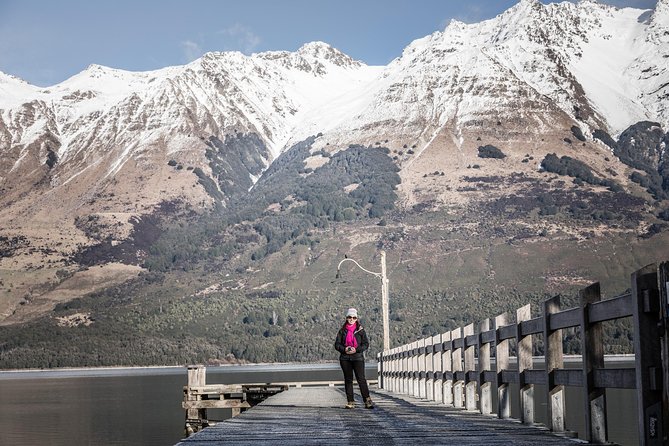
Here’s how to maximize results before you even start:
- Bring your camera manual and any lenses you’re comfortable with. If you have one lens you always use, start with that.
- Think about your photo goal: do you want a set of lake reflections, canyon drama, village texture, or a balanced mix? Then tell your guide early.
- Be ready to practice settings repeatedly. The lesson sticks when you apply it in different light.
- Dress for real outdoor time. Even with an air-conditioned vehicle, you’ll be outside at viewpoints.
Also, because weather and light drive everything here, your best plan is mental flexibility. If conditions change, the tour’s value is that your guide can help you keep shooting anyway—either by shifting where you focus or adjusting how you frame.
Should You Book This Queenstown Photo Tour?
If you want more than sightseeing photos, I’d book it. The mix of Aiste’s coaching, manual settings tutoring, and the included 5–10 professional photographs turns a beautiful region into a learning + results day. You’ll leave with images you like and skills you can reuse on your next leg of the trip.
I’d skip it only if you want a rigid itinerary, you hate being taught, or you’re expecting the day to be mostly “sit and shoot” with no learning component. But if you’re excited about getting better while exploring Queenstown, Skippers Canyon, Arrowtown, Glenorchy, and Wanaka, this is a strong use of time—and money—for Southern Lakes photography.
FAQ
What is the duration of the private Queenstown photo tour?
The tour is about 8 hours.
How much does the tour cost per person?
The price is $322.70 per person.
Who leads the tour and do you get photography instruction?
A local female photographer guides the tour and provides tutoring tailored to your camera level, including instruction on manual camera settings.
What photos are included at the end of the day?
You receive 5–10 complimentary professional photographs included with the tour.
Is lunch and any drinks provided?
Yes. You get picnic lunch and snacks, plus coffee, tea, and bottled water.
Will I be able to choose the locations during the day?
Yes. The itinerary is flexible, and you can choose different locations depending on your preferences and time. The tour can include stops such as Arrowtown, Glenorchy, Wanaka, Skippers Canyon, and Kinloch.
What kind of vehicle is used for the tour?
The tour uses an air-conditioned 4WD vehicle with WiFi on board.
Is this a private tour?
Yes. It’s a private tour/activity, so only your group participates. It can be for solo visitors or a small group of 2–4 people.
What happens if the weather is poor?
The experience requires good weather. If it’s canceled due to poor weather, you’ll be offered a different date or a full refund.